

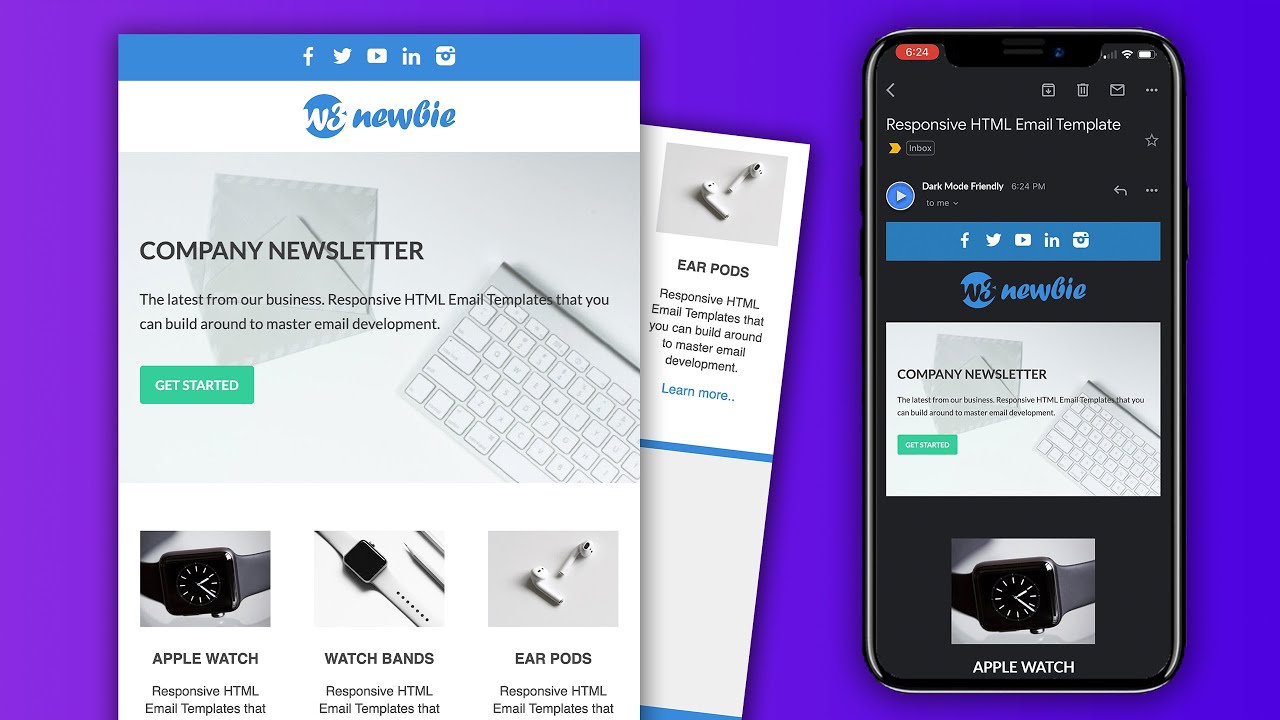
How To Code A Responsive Html Email Template
Responsive HTML email template blueprint and evolution tin seem challenging when your first getting started on your email development journey, but with just a scattering of key elements to HTML email you can showtime designing your ain templates inside hours. In this tutorial I'll show y'all all of the key elements to HTML email development by assembling the knowledge-base of operations here at Responsive HTML Email.
HTML Email Doctype
Let's first start with our email doctype for our template since this is the very first office of the HTML document we'll be building inside of for our email design. If you need more than guidance on creating an HTML document and getting started with a text editor, please encounter the resource page where there is an introduction to the Visual Studio Code Text Editor. In HTML email, the simple answer to "what is the all-time email doctype?" is whichever one works in the most electronic mail clients (such as Outlook).
Some may argue that the HTML5 doctype is OK to use for email, only the best testing service for electronic mail designs (Litmus & Email On Acid) notwithstanding recommend XHTML E-mail Doctype as it allows for proper rending on all electronic mail clients. Here is the complete document type HTML with the xml namespace link included for the xlmns attribute in addition to language english:
<!DOCTYPE htmlPUBLIC "-//W3C//DTD XHTML one.0 Transitional//EN" "http://www.w3.org/TR/xhtml1/DTD/xhtml1-transitional.dtd"> <html xmlns="http://world wide web.w3.org/1999/xhtml" lang="en"> <head> ... </head> <torso> ... </body> </html> HTML Email Head Metadata
Now that we have our doctype sorted out, permit's straight our focus to the header of the HTML document. The header includes meta tags, which are similar to those used in the latest web development practices, to tell the browser or email customer how we want our content to brandish.
Beginning we'll declare the graphic symbol set up of the certificate which is "UTF 8" or the standard character set for numbers and messages on the internet (and in e-mail).
<meta http-equiv="Content-Type" content="text/html; charset=utf-eight"> Now nosotros'll add a compatibility meta tag for the rendering of Net Explorer and Microsoft Edge web browsers:
<meta http-equiv="X-UA-Compatible" content="IE=edge"> Side by side we'll command the layout on mobile browsers and to go far and then the scale is set to the zoom of one or 100% when the email template is seen on mobile:
<meta proper name="viewport" content="width=device-width, initial-scale=1.0"> The last set up of meta tags included in the head of the document is for dark way which lets dark mode compatible e-mail clients and web browsers know that it tin can choose from the light or dark version of the template based on the user's preference. Acquire more nearly Dark Mode in HTML Email here.
<meta proper noun="color-scheme" content="light nighttime"> <meta proper noun="supported-colour-schemes" content="low-cal dark"> If you plan to accept your HTML Electronic mail Template display on the web, it'due south a good idea to include a title tag for the user to see and for the folio to exist bookmarked in a users browser.
<championship>HTML Email Template Projection</championship> CSS in HTML Email
Some of the older clients still require inline styling with CSS in HTML electronic mail such every bit Microsoft Outlook in improver to the use of provisional statements for total compatibility, but with mod HTML email clients (Gmail, Apple Mail service) we can take care of some of the styling in an internal style sheet.
Internal CSS Styling is included in the <head> section of the document using the <way> tag along with media queries for responsive-specific CSS and Night Mode.
<style type="text/css"> ... </style> For this blueprint, nosotros'll start with adding the internal CSS style above in the caput section after the meta tags and title.
HTML Email Media Queries
Media queries allow the states to apply specific CSS styling to our HTML depending on the width we gear up for the media query. This volition work in modern email clients but not in Outlook where we'll need our inline CSS.
Our email blueprint will have two different breakpoints, at 600px and 400px, which will use the "max-width" belongings. Using maximum-width in our media query ways the HTML email css styling added inside of it volition be applied under these set widths from the full width *or* upward-to the set width starting from 0px. So, under 600px the first styles will exist practical, then under 400px. Here are the media queries that will be added inside of the <manner> tag that already sits in the <head> section:
@media only screen and (max-width: 600px) {...} @media only screen and (max-width: 400px) {...} We'll reference these later in the tutorial equally nosotros add our styling.
HTML Email Body
The HTML electronic mail body or <trunk> tag in our HTML e-mail document is the start of setting up our document's appearance in email clients and web browsers. Nosotros'll need to strip some inherent styling from the document in order to use upward the full customer or browser window as our canvas. We don't need to do anything with the <body> tag itself which is already part of the doc merely we'll add together the following way in the internal style sheet:
body { Margin: 0; padding: 0; background-color: #f6f9fc; } The margin and padding being set to zero does away with any spacing to the edges of email clients and browsers the template design may accept otherwise. For best practice, capitalize the "M" in Margin for proper rendering of Windows e-mail clients such as Outlook. You'll also notice we've added a groundwork color here, this is for the trunk exterior of the template which we'll reinforce later in the tutorial.Following arrange with the potential <trunk> spacing problems, we'll do the same in removing padding and border where information technology applies for all of our table, td (table information), and prototype HTML tags as follows:
table { border-space: 0; } td { padding: 0; } img { border: 0; } This includes all of our "reset" styling for the template and we're ready to get started within of the HTML body.
HTML Email Width & Background Color
Let's go started with centering our HTML e-mail template. This is going to prepare our tabular array's width and solidify it inside of e-mail clients while still allowing for responsiveness. We'll start this section with a "wrapper". In website blueprint and evolution a wrapper is usually the term for setting a max width just in our email template it will be used similar to the typical <body> styling. The reason for this is because nosotros demand to reinforce the groundwork color and width in case e-mail clients don't respect the trunk styling. We'll do this with "width 100%" and "background-color: #f6f9fc;" by adding it to the <center class="wrapper"> element. Yes, "center" is a very old HTML tag for those of us familiar with the progression of the marker-up language merely it still applies in HTML email.
So, in improver to the width and background color, we'll demand to prepare up the tabular array inside of the chemical element with "table-layout: fixed;" to make sure the table tin't span any wider than the wrapper. As well, I'll be adding a little fleck of padding to the bottom of the blueprint considering it looks absurd:
<center grade="wrapper"> .wrapper{ width:100%; background-colour:#f6f9fc; table-layout:stock-still; padding-bottom:40px; } Lastly, for the width and centering to set upward our tabular array, information technology's best to reinforce the maximum width of the master table we'll be adding and the background color of the template by using a elementary <div> chemical element (the only div in the design). I'll name is "outer" as a reminder that is only outside of the template tabular array as a parent element:
<div form="outer"> .outer { max-width: 600px; background-color: #ffffff; } HTML E-mail Preheader Text
HTML email preheader text is the preview text of the email message that is seen underneath or next to the title of the email subject field when it's received in the inbox. Email service providers such as MailChimp allow y'all to add preheader, or preview text, inside their email architect features, but in HTML email we use the raw code to add information technology! This volition testify our e-mail preview text in all email clients, including preview text for Outlook.
For best exercise, keep the length of the preheader/preview text betwixt 40 characters and 130 characters with the sweet spot around 85-100 characters. This makes sure that the bulletin is brusque enough to be seen on pocket-size devices such as jail cell phones, and takes upward the allotted space on total-width desktop clients.
Now for the HTML and CSS. The purpose of our code here for an email preview is to make sure it isn't seen in our design, and so just beneath and inside of the <div class="wrapper"> and <div form="outer"> tags which set the background colors and width of our template to prepare our tabular array.
<div style="font-size: 0px; line-top: 1px; mso-line-height-rule: exactly; display: none; max-width: 0px; max-meridian:0px; opacity: 0; overflow:hidden; mso-hide: all;"> <!– Add 85-100 Characters of Preheader Text Hither –> </div> Centering the HTML Electronic mail Template Table
To center the HTML email nosotros'll need to add together our first and chief table inside of our "wrapper" center tag and "outer" div tag elements mentioned higher up when setting the width. To do this nosotros'll apply a classic <table> tag which is nonetheless needed for proper electronic mail client rendering (no nosotros can't utilize divs) and we'll requite our tabular array a course chosen "main" in add-on to reinforcing the centering of the template with the align="center" aspect as follows:
<table form="main" align="center"> Now that we have the "center" value added to the align attribute, we tin add together some more centering! This was email clients have no choice only to center our template. Additionally, we'll requite this element a width of 100% so our template takes up the total width on devices under 600px, add a maximum width of 600px to brand sure that the design doesn't bridge any wider, and gear up the border spacing to "0" so no unwanted space appears around the edges of the table:
.master { Margin: 0 motorcar; width: 100%; max-width: 600px; border-spacing: 0; font-family: sans-serif; colour: #4a4a4a; } Feel free to alter the font styling and the color of the template fonts to your own styling for the main table.
Social Media Icon Email Template Header
At present it'southward time to start adding content inside of our main email template tabular array in grade of an email template header that will incorporate our social media icons. To start this department off, nosotros'll demand to add a new table row. Each main department of the template volition e'er start with the same <tr> table row tag followed by a tabular array data <td> tag that may differ depending on the section.
<tr> <td> ... </td> </tr> For the email template header, we'll need to be able to insert some padding around the social media icon images that email clients will apply so in addition to the first set of table row & table data tags, nosotros'll need to add a table with a new set of these tags inside of information technology. The inner <td> tag is where we can add together the padding to the header, instead of the first one above which some email clients would ignore. This also gives the states the opportunity to add a groundwork color to the header and center our images as text since they'll be inside of links:
<table width="100%"> <tr> <td style="padding: 10px; groundwork-color: #388CDA; text-align: center;"> ... </td> </tr> </table> Now we can add the social media icon images inside of the table data tag that has the styling set up:
<a href="#"><img src="img/facebook.png" width="xxx″ alt=""></a> <a href="#"><img src="img/twitter.png" width="thirty″ alt=""></a> <a href="#"><img src="img/youtube.png" width="30″ alt=""></a> <a href="#"><img src="img/linkedin.png" width="30″ alt=""></a> <a href="#"><img src="img/instagram.png" width="30″ alt=""></a> 
HTML Email Template Logo Section
The logo department of the template requires the same construction of HTML tags leading upward to the logo prototype since it will too require some padding around the epitome:
<tr> <td> <table width="100%"> <tr> <td style="padding: 10px; text-align: eye;"> <a href="#"><img src="img/logo.png" width="180″ alt=""></a> </td> </tr> </tabular array> </td> </tr> HTML Email Banner Image
The HTML e-mail banner image requires less coding than the previous two sections. The reason for this is considering we don't need any spacing or styling effectually the banner paradigm every bit will take upwards the full width of the template. We need to add a fix width to the banned prototype with the "width" attribute and a value of 600, for 600px, to have it independent inside of the template's full width. To brand the image contained in the template at screen width's less than 600px, we'll add a max-width of 100% as follows:
<tr> <td> <a href="https://w3newbie.com"><img src="img/1200×700.png" width="600″ alt="Banner" style="max-width: 100%;"></a> </td> </tr> 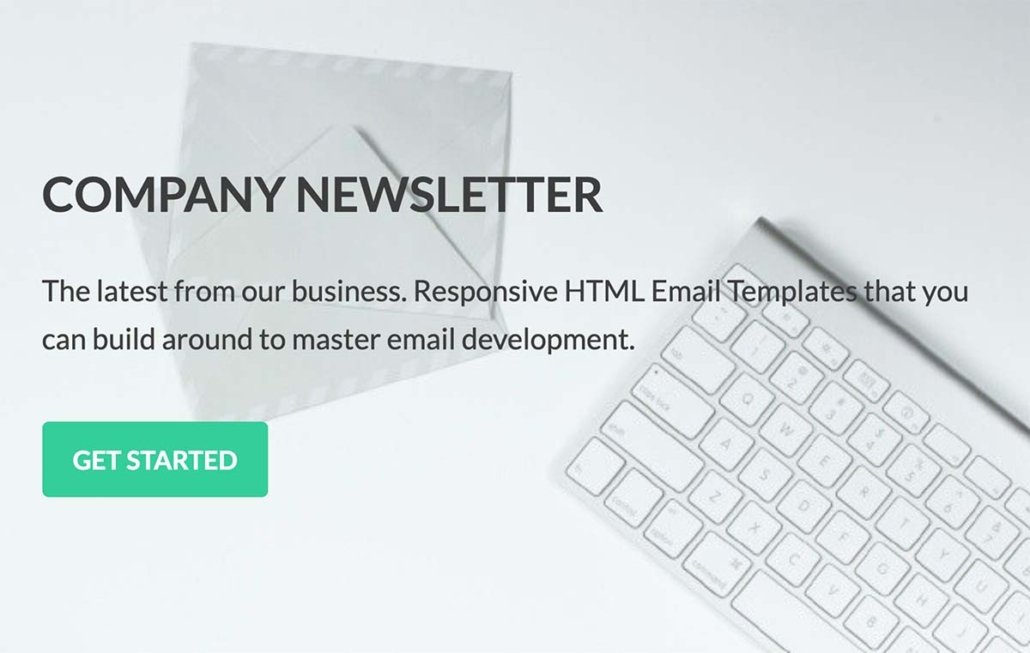
Responsive HTML Electronic mail Tables: three Column Layout
The meat and potatoes of our blueprint comes in the form of a 3 cavalcade html email template layout. This is when some folks may think they are start to go lost if they oasis't felt this way already about tables. There are but a few dissimilar elements and lines of CSS that make up our responsive table columns though.
We'll get-go our three column html email layout off similar to the previous sections of the template where we added styling to images (the social icons and logo). Just this time, instead of adding styling to the 2d <td> table data tag, we're going to give the chemical element a course chosen "three-columns" to let us know this will be containing our individual columns:
<tr> <td> <table width="100%"> <tr> <td class="three-columns"> The "3-columns" tabular array information tag will bridge the full width of it'south parent table. Now we tin can start to mode this section using the class. Since all of our content will be centered, we tin can use the 'text-align: centre;' manner declaration to position all of our content in the center. Then we'll add some spacing to the top and bottom of the section to make information technology so the columns we'll add will be separated from the template banner image and footer section. Lastly, we'll need to apply 'font-size: 0;' because the inherit font size that is applied to <td> tags will subsequently make information technology and then our 200px columns tin can't align next to each other without this applied. Here is our CSS:
.three-columns { text-align: centre; padding-tiptop: 40px; padding-bottom: 30px; font-size: 0; } Now let's begin to add our first of 3 email columns. Since our "three-columns" element is a table data tag, we'll start a new <table> within of it which we'll name "column" as it represents one of three columns. Information technology'southward also important that nosotros create a <td> tag within of the table that nosotros can apply spacing to in the form of padding so our column content isn't bunched up to the border of the allotted 200px width. To do this, we'll include a new tabular array row and table data tag which is name "padding" as it'due south form:
<table class="cavalcade"> <tr> <td form="padding"> Hither come's the responsive HTML email multi-column magic. Nosotros're ready for the column's CSS styling. First nosotros'll add a width of 100% to brand sure the table cavalcade will display at the full width of the parent element. So we'll gear up the max-width to 200px and then all three of our columns tin brandish within of the 600px layout. To get the columns displaying inline nosotros'll use the style declaration 'display: inline-block;' and to brand the columns stack on height of i another for responsiveness we'll used the 'vertical-marshal: peak;' styling. For padding, we'll apply 15px of space all effectually to the inside of our columns. Here is the CSS:
.three-columns .column { width: 100%; max-width: 200px; display: inline-block; vertical-marshal: top; } .padding { padding: 15px; } We're prepare to add our column content now. The content can include anything you want to add together to your template as long equally you accept information technology set inside of a new table and set of tabular array row <tr> & tabular array data <td> tags as follows:
<tabular array class="content"> <tr> <td> In that location is just one problem with this department at present, we won't be able to encounter any of the text we add because of the 'font-size: 0;' style declaration that is making it then our 200px width tables tin can all be inline. To correct this, utilize the post-obit font-size styling to the 'content' class with an optional line-elevation adjustment for more spacing effectually the text:
.content { font-size: 15px; line-tiptop: 20px; } This template design has an image on meridian of the text and link for the content within of the cavalcade. Hither is the full HTML starting from the "content" class equally mentioned in a higher place:
<table grade="content"> <tr> <td> <a href="#"><img src="img/380x280.jpg" alt="" width="150" fashion="max-width: 150px;" class="tertiary-img"></a> </td> </tr> <tr> <td mode="padding: 10px;"> <p style="font-weight: assuming; font-size: 17px;">APPLE WATCH</p> <p>Responsive HTML Electronic mail Templates that yous tin can build around to master email evolution.</p> <a href="#">Learn more..</a> </td> </tr> </tabular array> 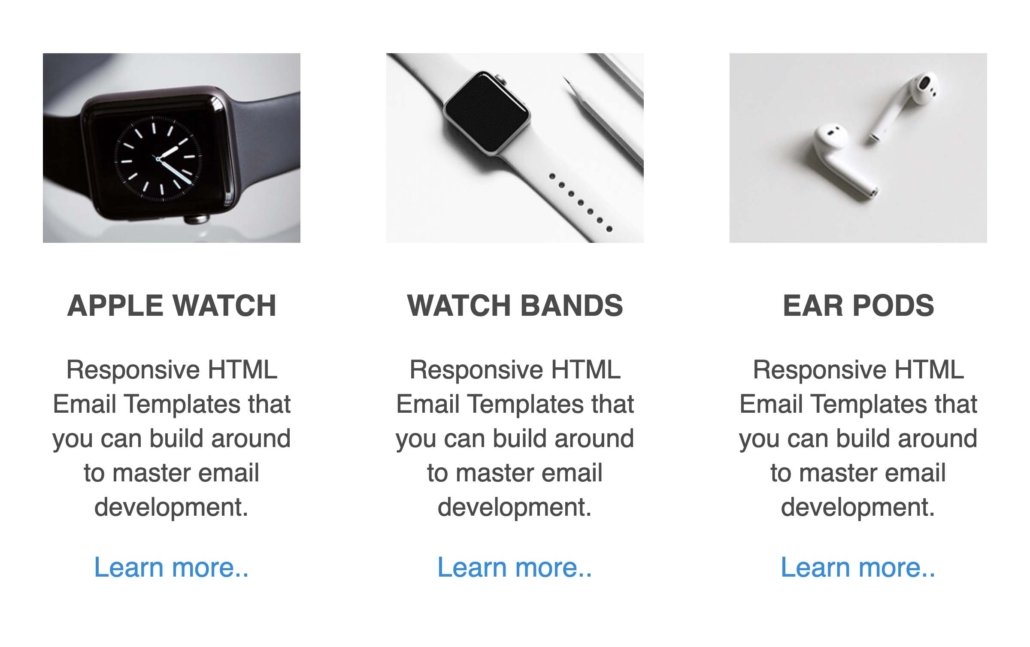
You might notice that a grade has been added for the image called "third-img". This course will be referenced in the CSS media query for screen widths underneath 400px effecting both the commencement and 2nd of the 3 columns. And then, repeat this first column for the 2d column HTML. For the tertiary cavalcade, we'll apply a different grade name. This time it volition exist "third-img-last" and this will be referenced in the 600px width media query. What is the purpose of these classes? When the screen width drops underneath 600px two of our columns volition be inline and the third volition sit underneath the first 2 which will exist centered. So we'll reference the "tertiary-img-last" course to change with 150px width of the image to 200px and remove the padding on the left & right which was added using the "padding" class. Hither is the media query:
@media screen and (max-width: 600px) { img.tertiary-img-last { width: 200px!important; max-width: 200px!of import; } .padding { padding-left: 0!important; padding-right: 0!of import; } } The first two images will accept the same width of 200px applied on screens narrower than 400px using the "3rd-img" class:
@media screen and (max-width: 400px) { img.third-img { width: 200px!of import; max-width: 200px!of import; } } 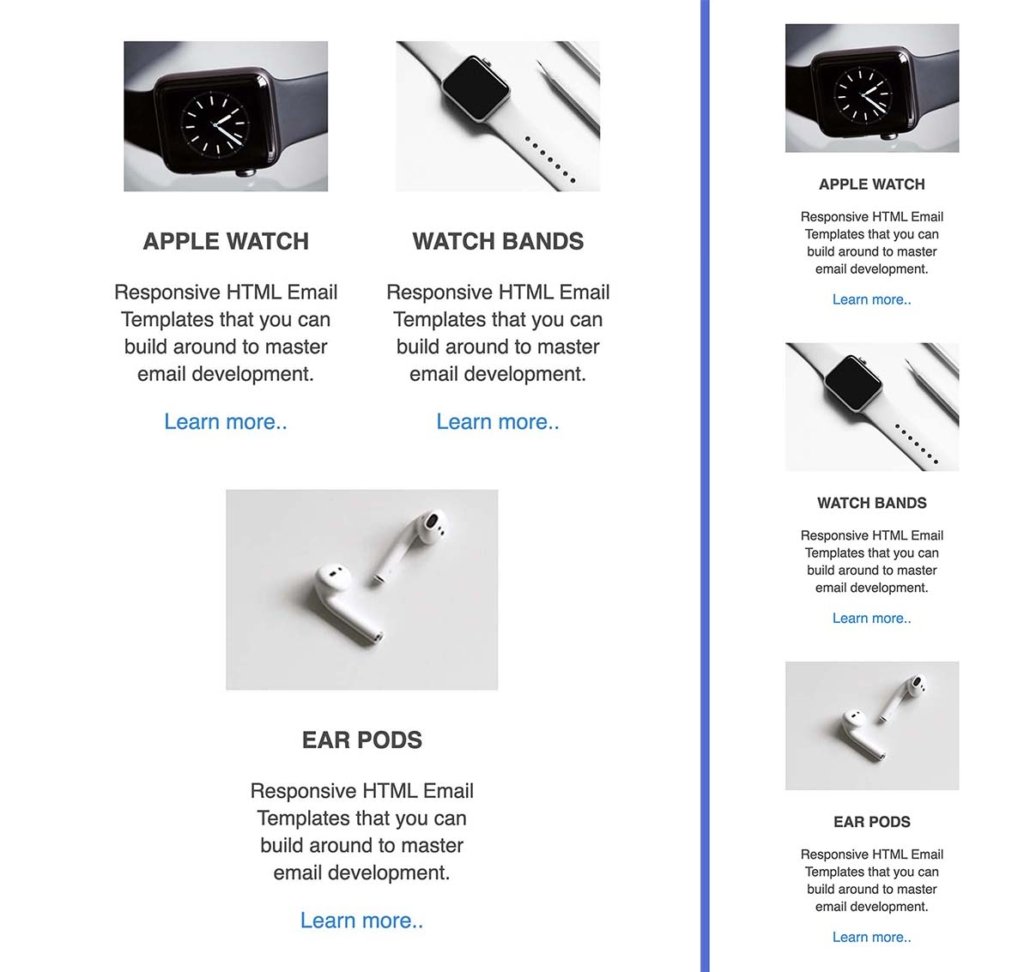
HTML Email Footer Section
The rest of the template design is a cakewalk. Before and subsequently the email template footer, there volition be a uncomplicated border spacer matching the header background colour of the template, then inside of the footer a low-cal gray groundwork colour volition exist applied and images, text, and links volition exist added inside of it. Here is the full remaining HTML for the footer section of the template:
<tr> <td way="background-color: #efefef;"> <tabular array width="100%"> <tr> <td manner="padding: 20px; text-align: heart; padding-bottom:10px;"> <a href="#"><img src="img/w3newbie.png" width="160" alt=""></a> <p manner="font-size: 16px; Margin-top: 18px; Margin-bottom: 10px;">w3newbie HTML Email</p> <p style="font-size: 16px; Margin-top: 18px; Margin-lesser: 10px;">123 Street Road, Metropolis, Country 55555</p> <p><a href="mailto:email@e-mail.com">email@email.com</a></p> <p><a href="tel:18008888888">1-800-888-8888</a></p> <p style="Margin-top: 38px; Margin-bottom: 30px;"><a href="#">SUBSCRIBE!</a></p> </td> </tr> </table> </td> </tr> <tr> <td mode="background-color: #378BDA; border-radius: 0 0 15px 15px;" peak="twenty"></td> </tr> 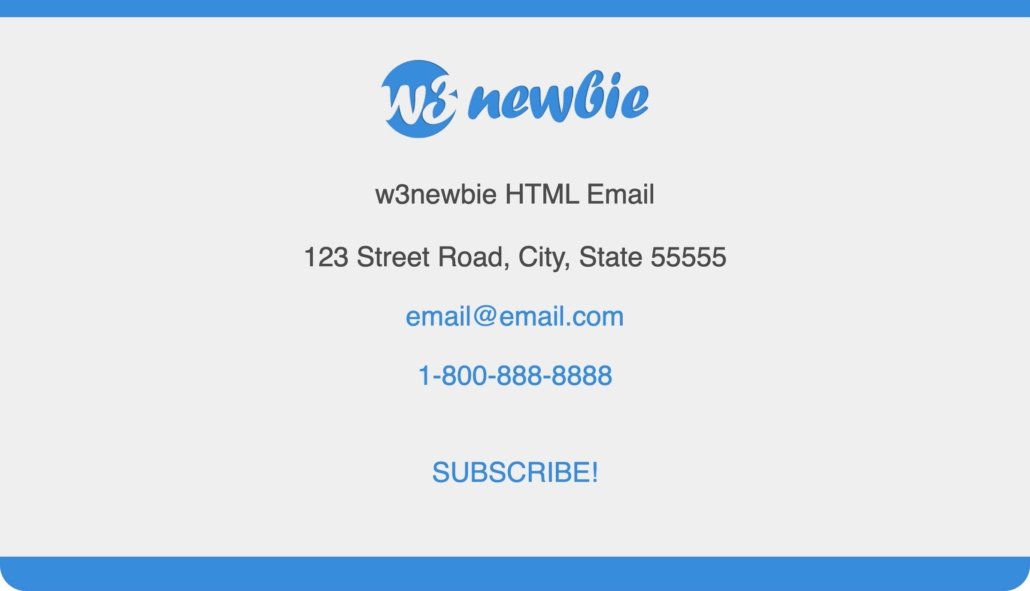
That concludes our total Responsive HTML Electronic mail Template Tutorial! Be certain to subscribe and check out the HTML Email Mastery Form, thanks for reading!

How To Code A Responsive Html Email Template,
Source: https://responsivehtmlemail.com/responsive-html-email-template/
Posted by: levinenes1943.blogspot.com
0 Response to "How To Code A Responsive Html Email Template"
Post a Comment